Click here to see important information about the Staking Increment Model!
Requirements (Based off of current Increment Model)
Linux/Mac Users
- After satisfying the requirements, open Terminal
- Type ssh root@Your IP Address → The IP address is from the VPS
- Enter your VPS Password → This will connect you to the server. The password will not be shown to you when you type this into the Terminal. It’s best to copy/paste into the Terminal
Windows
- After satisfying the requirements, download PuTTy. PuTTy is a free SSH client
- Open PuTTy, then type in your VPS IP Address in the Host Name portion of PuTTy, then click Open
- Type in the username from the VPS (usually named root), as well as the VPS password. The password will not be shown to you in the Terminal. It’s best to copy/paste into the Terminal
- Click here and copy the Method 1 under the Bootstrap Command STORX Node Setup section or you can copy the command below.
sudo su -c "bash <(wget -qO- https://raw.githubusercontent.com/StorXNetwork/StorX-Node/main/bootstrap.sh)" root
-
Paste the code into the terminal, then it’ll ask you to enter your XDC address. Copy your XDC address where your Srx tokens are located, then paste into the terminal. Once you paste the address, hit Enter
-
Let the code run, then you should see done in green. This means that the node is created (There are some issues that can happen, which I’ll cover)
-
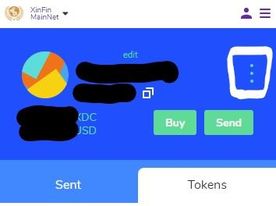
Click here and click on Connected. You want to connect your XDC wallet to this site to stake. (Personally, I use the private key. For example: In XinPay wallet, look for the 3 dots at the top right and click on Export Private Key)

-
Go to Staking and look for Current Reputation. The status Not a Staker must change to a numerical value to know if the node is running. When the node reaches a value higher than 10, the Farmer Node Status should say ‘TRUE’.
-
Seeing values for Current Reputation can take some time, usually 30 mins-1 hr. If you notice that your status is still Not a Staker and/or you are see this in your terminal:
ERROR: .FileNotFoundError: [Errno2]…
try these steps.
- Type the following in the terminal:
ls
rm -r StorX-Node
This will delete the directory and start from scratch
- Use Step 4 command again. After everything runs, type the following:
cd StorX-Node
sudo apt-get upgrade
Now, run Step 4 command once more, but this time, stay in the StorX-Node path
- If everything goes through, you should see
Recreating storx-node_storxnetwork_1…done
-
Wait about 30-45 mins, and you should see a numerical value for the Current Reputation
-
After this value reaches 11 or higher, the Farmer Node Status will say TRUE. Congrats, you can now stake! Select the amount of Srx that you want to stake, then click Stake. You’ll be asked to pay a gas fee in XDC. Once this happens, the Stake Details will show the amount you staked and change to TRUE as well

-
Use this command to check the status of your node:
sudo bash ./getstatus.sh
This is what you’ll want to see.
- Node → Running
- Peers → Greater than 0
- Allocs → Non-zero values
- Bridges → Connected
Note: You must be in the StorX-Node path in order for this command to work!
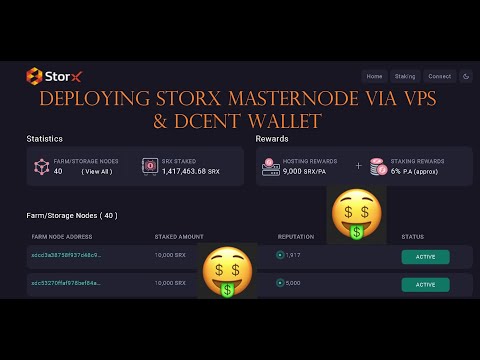
Check out Mr. Blockchain22 “Deploying a SRX Node via VPS & DCent Wallet”
If you like more content like this, be sure to follow me on Twitter! 


